
 |
PLEASE PATRONIZE OUR SPONSORS!


|
|||||||
 |
|
|
Thread Tools | Display Modes |
|
#1
|
||||
|
||||
|
I haven't put anything up in a while to contribute to the forum and last week I had the opportunity to take a few pics for a long distance friend who wanted to know how to flatten a Kohler K head. I had one laying around so I thought this might be of some interest to see the progression from beginning to end.
The procedure below explains how to renew a flat(ter) surface on the cylinder head gasket sealing area to prevent defects in the gasket surface from destroying head gaskets or the cylinder head sealing area. Unevenness or warp in the gasket sealing surface of a cylinder head may cause vacuum or pressure leaks in the combustion chamber. If left unchecked, this distortion may result in less than optimum engine performance and visible symptoms including oil leaks around the head area, Possible blowout of the head gasket material is also possible on head gaskets that do not have a fire ring as part of the gasket construction. If hot combustion gases are allowed to continue to leak past the aluminum head, erosion of the gasket sealing surface can occur and render the cylinder head useless. The float glass used here is certainly not the end all argument for a perfectly flat surface. For the purpose of improving the sealing capability of a LGT tractor cylinder head, common ¼ inch float glass will produce useable results. In preparation for renewing the cylinder head, a few common items will need to be obtained from local suppliers. The surface of an ordinary pane of glass makes a very suitable flat surface to perform this procedure. Several sheets of Wet/Dry 220 grit waterproof paper will be required. Water in a spray bottle will be needed to wet the abrasive paper to keep aluminum debris from collecting on the abrasive paper and clogging the grit prematurely. Wetting the glass pane slightly will allow the paper to “suction cup” itself to the glass pane when the cylinder head squeegees the water from underneath the abrasive paper. 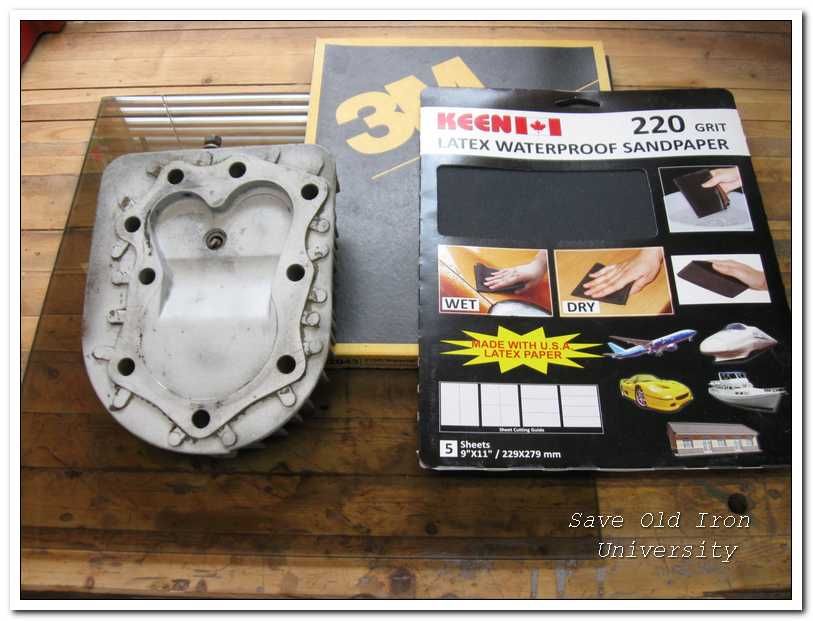 The cylinder head pictured below will be used for this process. 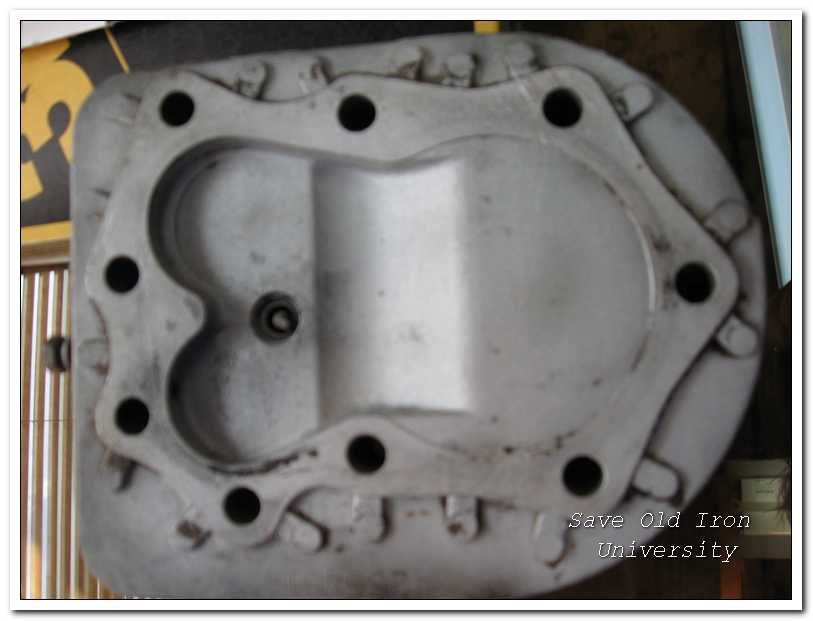 To observe the progression of material removed from the head, I apply a very light guide coat of black spray paint to the gasket sealing area of the cylinder head. Complete removal of the guide coat will signal the completion of the flattening process. 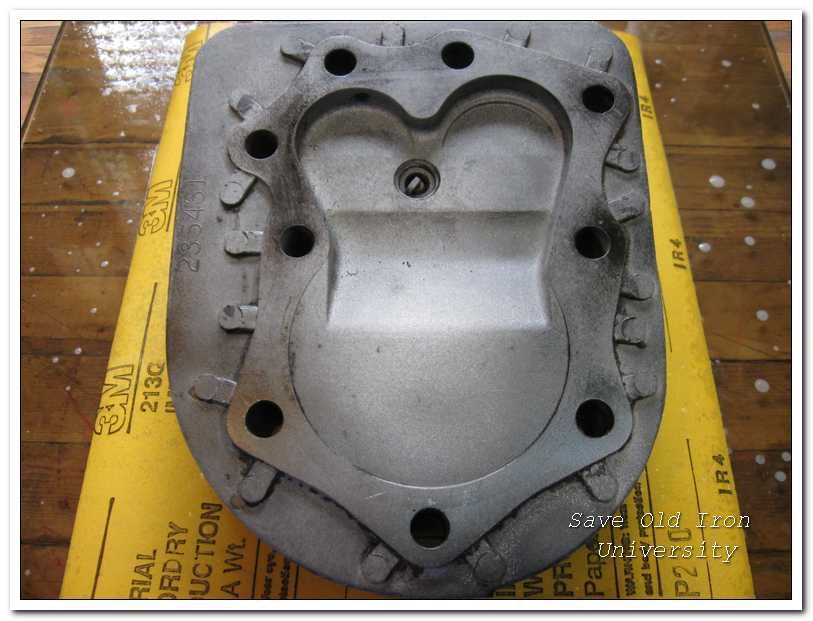 First, establish a stable and flat surface on which to lay the glass pane. The float glass I used was 1 / 4 “ - pretty stout stuff. Edges of the glass were beveled for safety. Make certain the glass surface is clean. Any detectable residue such as grease, dirt, or stickers on the glass will cause a dimple in the abrasive paper and prevent the cylinder head from renewing flat. I also prep the glass surface by running a single edge razor blade across the surface of the glass pane to assure no residue is present. Spray a misting of water onto the top of the glass plate 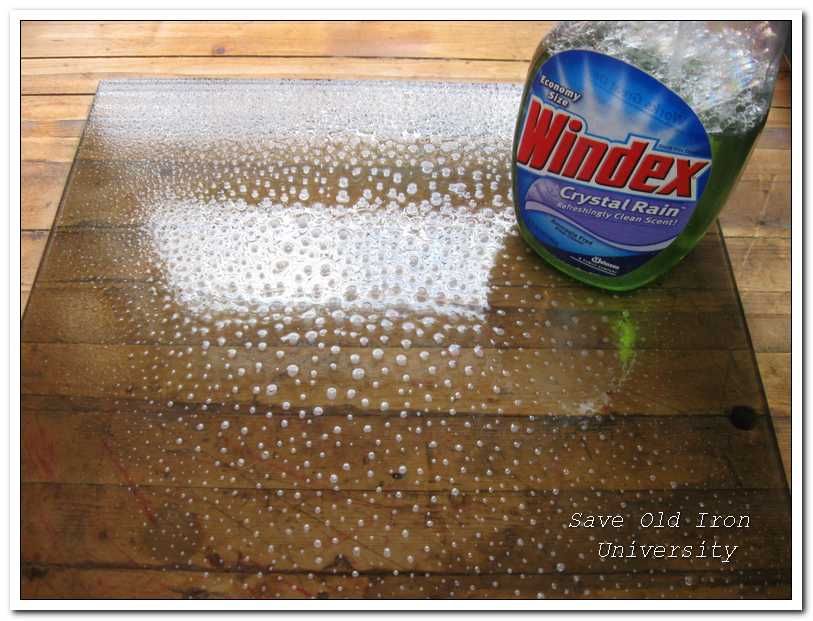 onto the bottom of the abrasive paper to soften the paper and make it more pliable 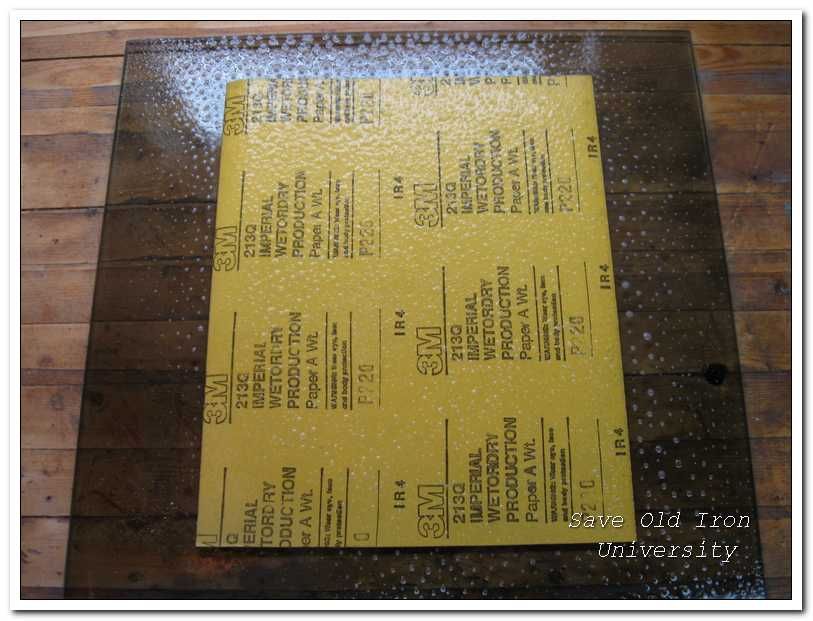 and again onto the top of the abrasive to allow material of removed from the cylinder head to float off the paper and not prematurely clog the abrasive paper. 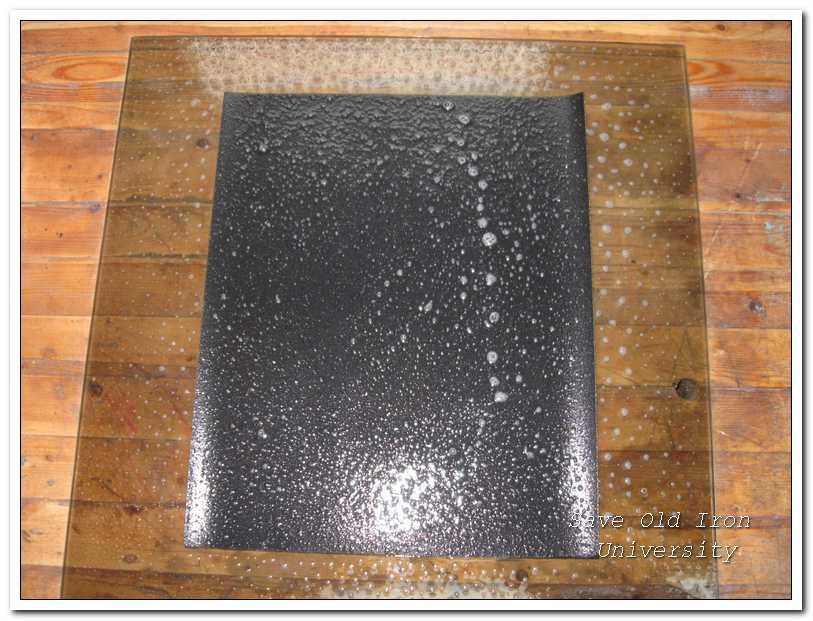 Place the cylinder head gasket surface side down on the abrasive. You may choose to leave the spark plug in place to allow for a better grip on the head throughout the process. 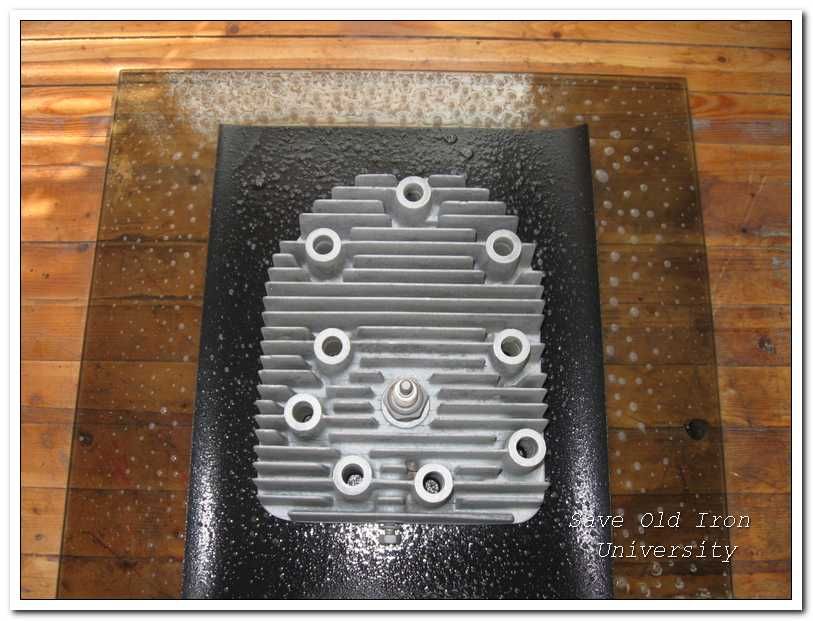 Move the head in an even figure 8 motion across the abrasive paper. Apply a slight downward pressure on the head and inspect the progress every 20 or so figure 8 rotations. The downward pressure applied to the head is approximately what you would use if you were applying polishing compound to car paint. No need for excessive pressure here, let the tools do the work. 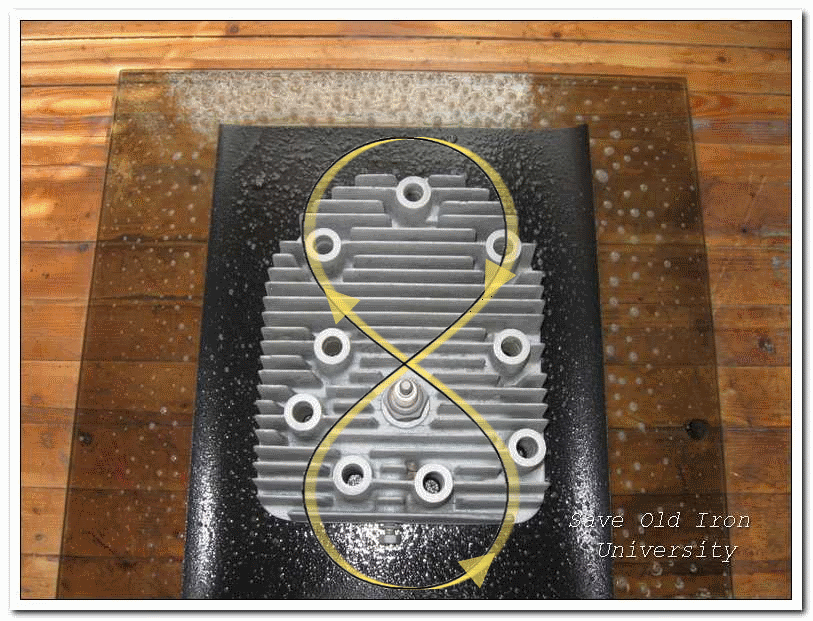 After the first 20 swipes, inspect the head to check your progress. Notice the black guide coat is being abraded away on the high spots on the cylinder head. 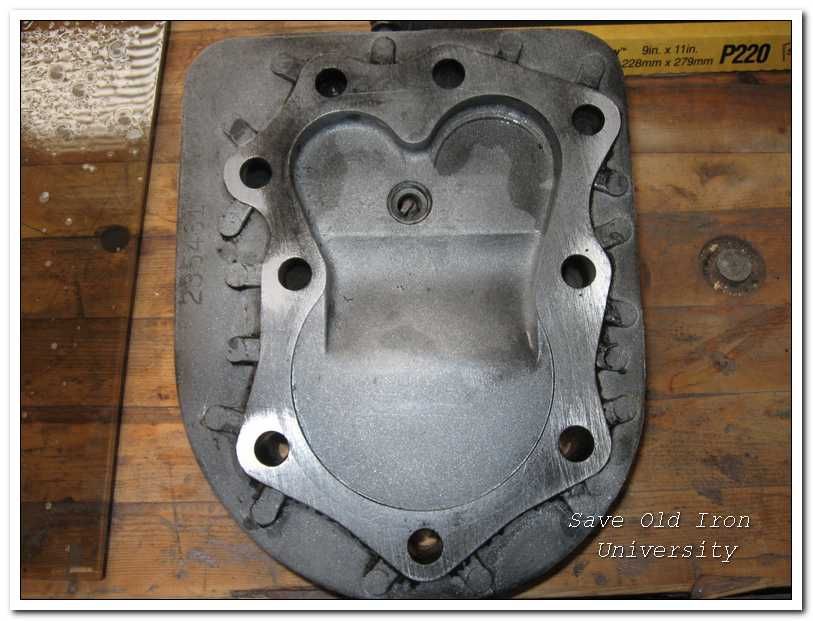 See the finished product in Part 2 of the post. .
__________________
If you do not learn something new every day ... you are not paying attention ! |
|
#2
|
||||
|
||||
|
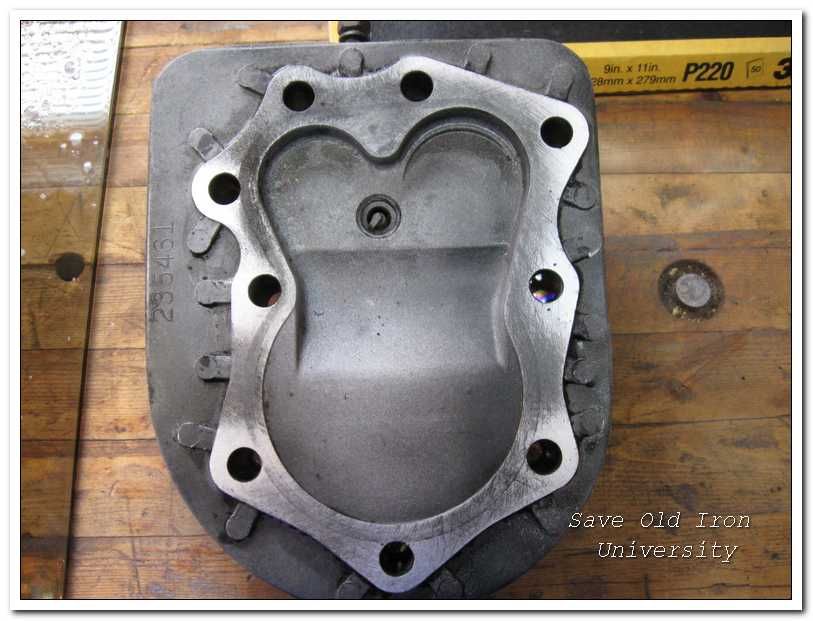
Another 10 to 20 swipes on the abrasive paper and inspect the progress. The blacked areas are the guide coat still present in low spots between the areas polished by the abrasive paper.
 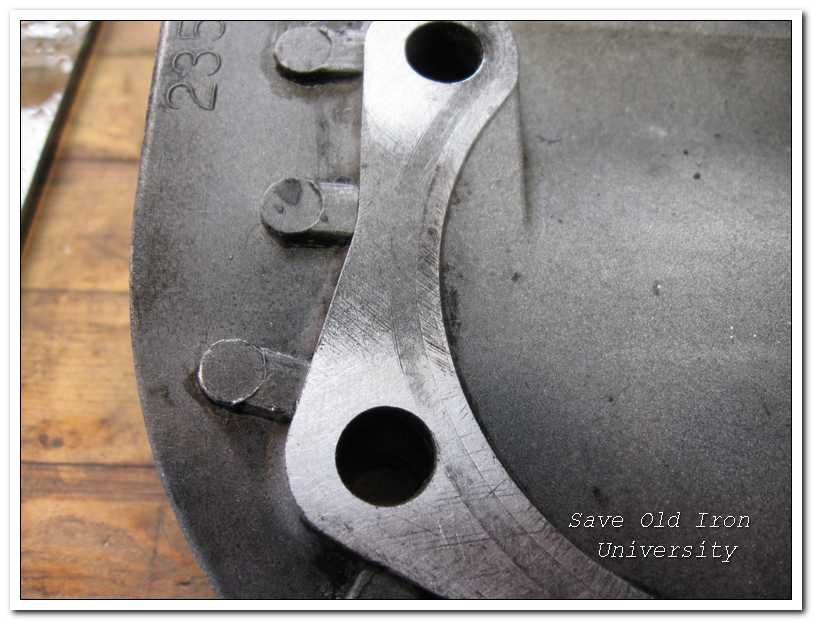 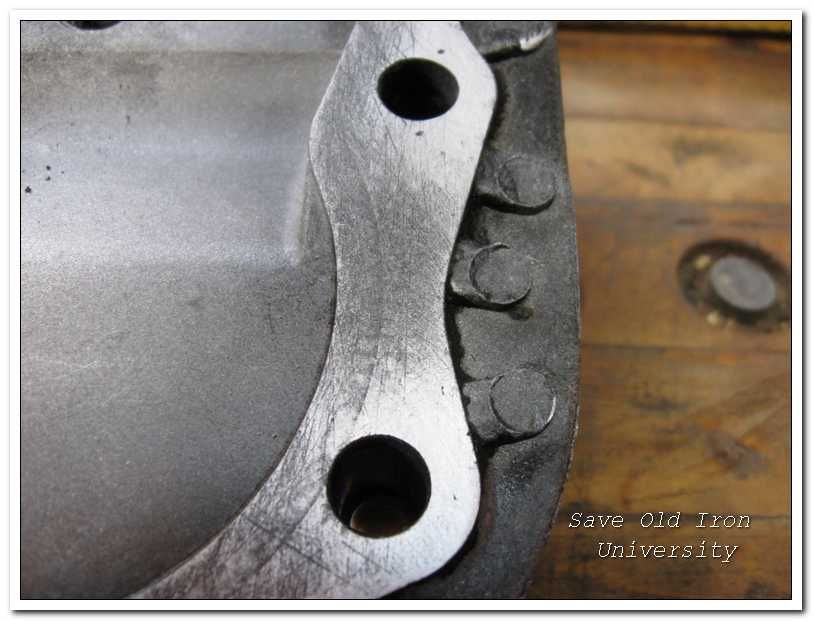 Another 20 or so swipes and note how the shiny portion of the gasket area is increasing in size. 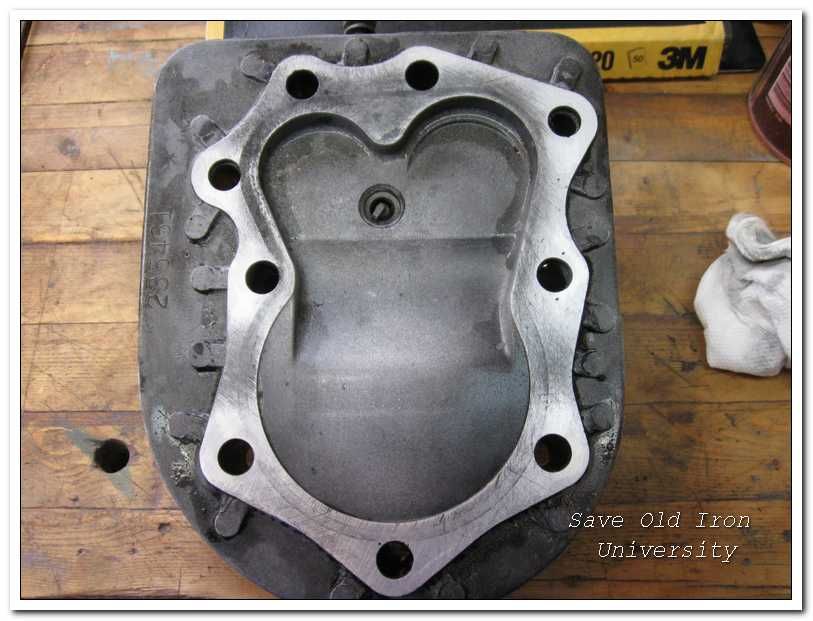 Another 20 swipes 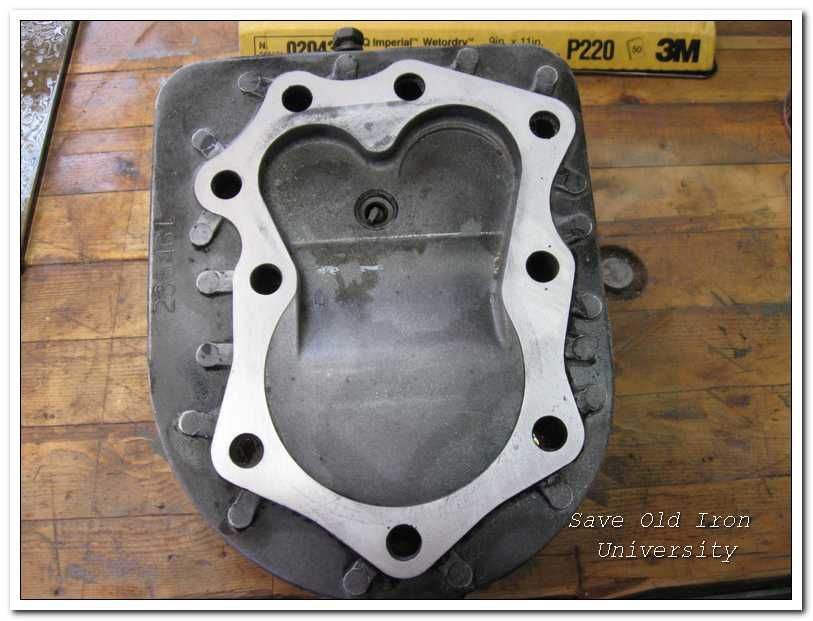 And the final 20 swipes produce a gasket seal area without any evidence of guide coat left 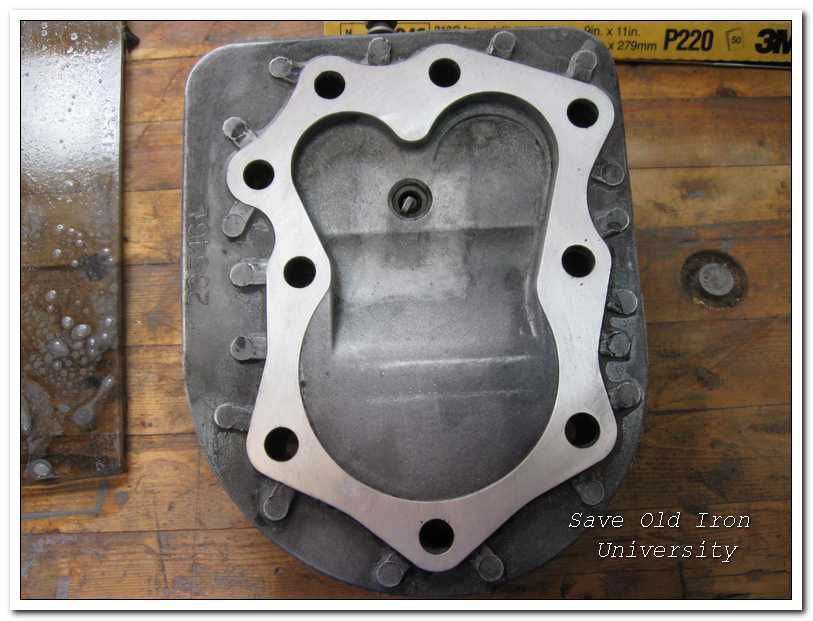 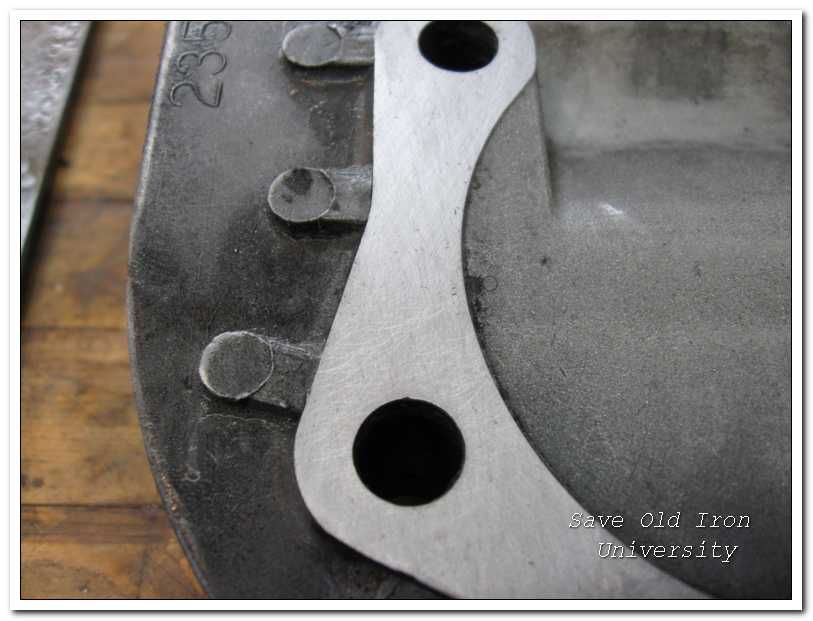 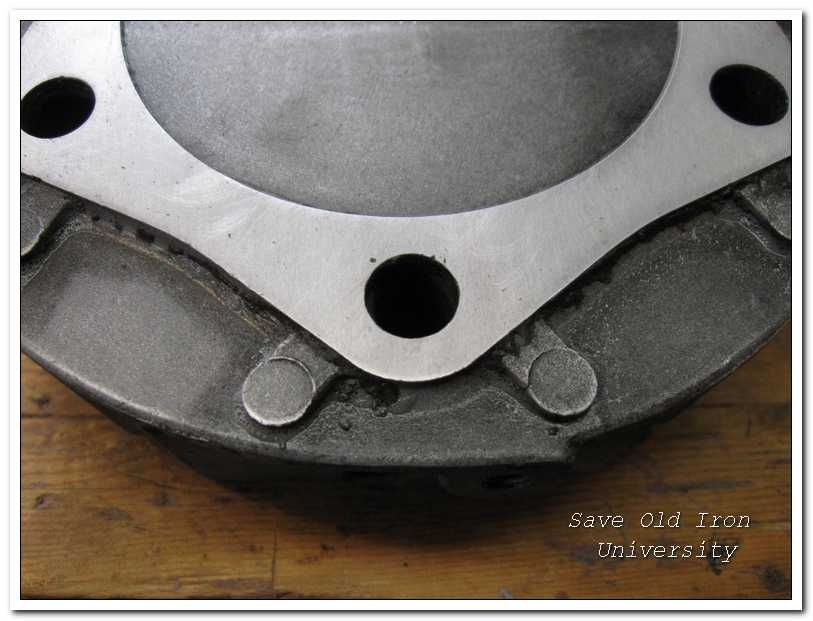 The head material removed during the process. The slurry produced from this process is also highly abrasive. You may want to keep the slurry away from any nearby hand tools or power tools. 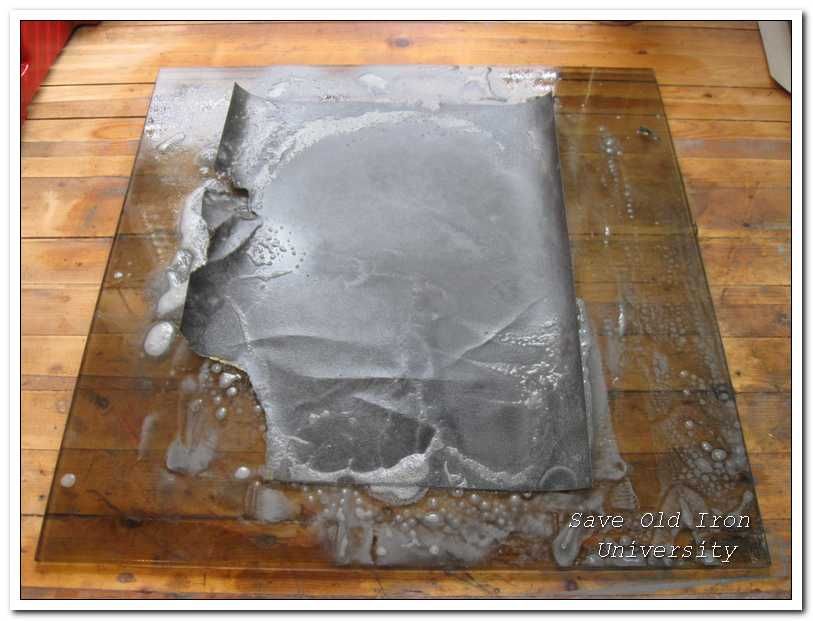 The final step is to gently wash away any silicon carbide material from the glass pane. Rinse the pane prior to wiping it down so as not to rub any abrasive into the glass surface. 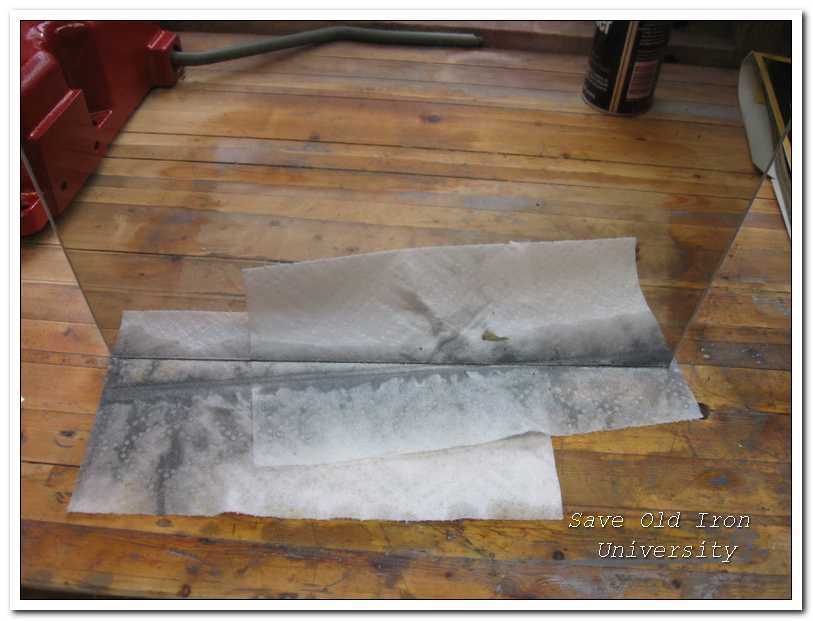 Carefully store the glass pane for future use.
__________________
If you do not learn something new every day ... you are not paying attention ! |
Cub Cadet is a premium line of outdoor power equipment, established in 1961 as part of International Harvester. During the 1960s, IH initiated an entirely new line of lawn and garden equipment aimed at the owners rural homes with large yards and private gardens. There were a wide variety of Cub Cadet branded and after-market attachments available; including mowers, blades, snow blowers, front loaders, plows, carts, etc. Cub Cadet advertising at that time harped on their thorough testing by "boys - acknowledged by many as the world's worst destructive force!". Cub Cadets became known for their dependability and rugged construction.
MTD Products, Inc. of Cleveland, Ohio purchased the Cub Cadet brand from International Harvester in 1981. Cub Cadet was held as a wholly owned subsidiary for many years following this acquisition, which allowed them to operate independently. Recently, MTD has taken a more aggressive role and integrated Cub Cadet into its other lines of power equipment.
This website and forum are not affiliated with or sponsored by MTD Products Inc, which owns the CUB CADET trademarks. It is not an official MTD Products Inc, website, and MTD Products Inc, is not responsible for any of its content. The official MTD Products Inc, website can be found at: http://www.mtdproducts.com. The information and opinions expressed on this website are the responsibility of the website's owner and/or it's members, and do not represent the opinions of MTD Products Inc. IH, INTERNATIONAL HARVESTER are registered trademark of CNH America LLC
All material, images, and graphics from this site are the property of www.onlycubcadets.net. Any unauthorized use, reproductions, or duplications are prohibited unless solely expressed in writing.
Cub Cadet, Cub, Cadet, IH, MTD, Parts, Tractors, Tractor, International Harvester, Lawn, Garden, Lawn Mower, Kohler, garden tractor equipment, lawn garden tractors, antique garden tractors, garden tractor, PTO, parts, online, Original, 70, 71, 72, 73, 76, SO76, 80, 81, 86, 100, 102, 104, 105, 106, 107, 108,109, 122, 123, 124, 125, 126, 127, 128, 129, 147, 149, 169, 182, 282, 382, 482, 580, 582, 582 Special, 680, 682, 782, 782D, 784, 800, 805, 882, 982, 984, 986, 1000, 1015, 1100, 1105, 1110, 1200, 1250, 1282, 1450, 1512, 1604, 1605, 1606, 1610, 1615, 1620, 1650, 1710, 1711, 1712, 1806, 1810, 1811, 1812, 1912, 1914.